AI Tools
Meshy AI Image-to-3D: Prepare Reference Images and Evaluate the Result
Prepare clear reference images for Meshy AI, distinguish observed details from inferred surfaces, and evaluate the generated 3D model before accepting its export.
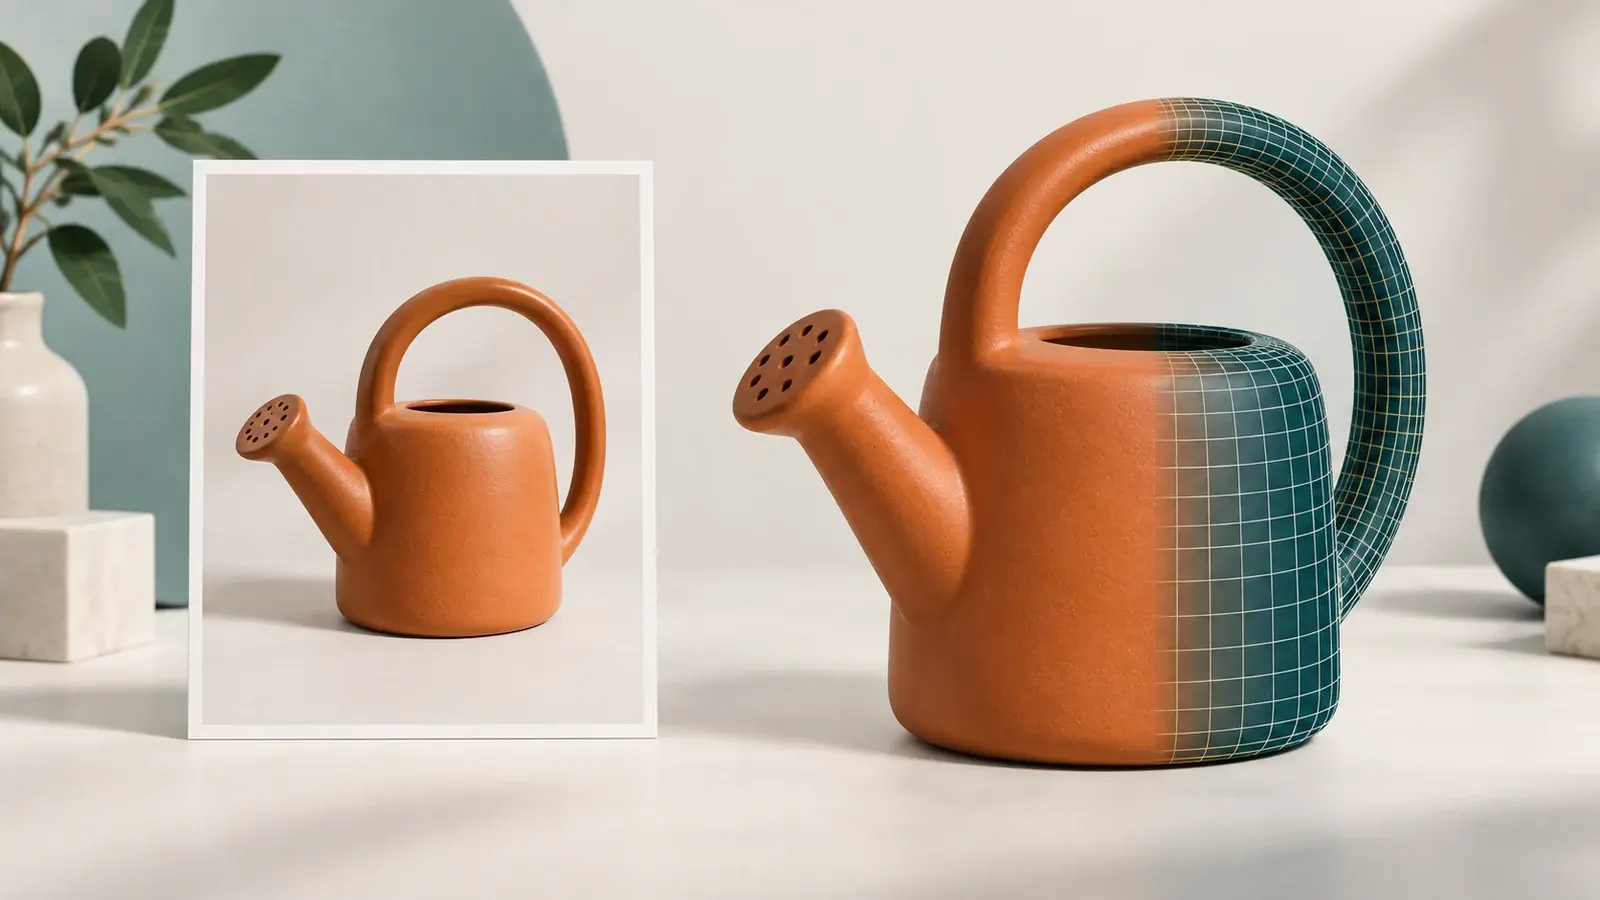
For Meshy AI image-to-3D work, choose a reference that makes the object easy to understand, then judge the generated model from more than the original camera angle. A familiar-looking front view is only the first checkpoint.
Meshy accepts photos, sketches, and concept art as image inputs, according to its Image to 3D feature overview. This guide focuses on preparing those references and deciding whether the resulting shape is a useful match. The watering-can example below is an illustrative review exercise, not a measured Meshy test.
Define what must match before you upload
Write a short acceptance brief. Choose three features that make the object recognizable, identify which surfaces your audience will see, and decide where interpretation is acceptable.
For a ceramic watering can, your priorities might be the round body, arched handle, and short angled spout. For a background prop, a plausible rear surface might be enough. For a product review with a full rotation, you might require reference evidence for the back as well.
Use those priorities to compare candidates. Do not let an attractive finish distract you from a missing handle opening or an incorrect spout position. If you need a structured visual brief before choosing the reference, the design prompts collection is a starting point for organizing the object's defining features.
Prepare a clear reference image
Meshy's reference-image quality checklist recommends a sharp image, a plain background, even lighting, and a front-facing or modestly angled view. It recommends 1024 × 1024 pixels or higher and notes that glass, highly reflective surfaces, and very thin details are challenging.
For your first attempt, pick a reference in which you can point to every defining feature without guessing where its boundary lies.
- Keep the complete subject visible. Inspect the outermost points: handle, spout, feet, antennae, or accessories. Leave a small margin rather than cropping against them.
- Separate the object from its surroundings. Check both the outer contour and gaps inside handles or between legs. Treat every background-removal result as a draft to inspect.
- Preserve the design. Keep an untouched original. Compare any edited copy against it before uploading.
For a product reference that needs isolation, adapt the Clean White Background Product Photo prompt. For clutter beside an otherwise usable subject, consider the Seamless Background Distraction Removal prompt. In either case, require the edit to preserve the object's contour, holes, proportions, and surface markings.
Reject an edited reference if it makes the subject prettier by changing its identity. For our watering can, smoothing away a small dent might be acceptable for a fictional prop; replacing its handle with a different design would fail the brief.
Decide whether one image contains enough information
Meshy's Image to 3D help guide explains that hidden parts must be inferred and can be inaccurate. Make a list of features that your chosen reference does not show. Label them as unknown instead of assuming that the generated back is correct.
| Reference situation | Suggested decision | Review priority |
|---|---|---|
| One clear image; hidden surfaces can be interpreted | Start with a single-image candidate | Check whether the invented areas are acceptable for your use |
| A real object has important rear or side features | Capture additional genuine views when possible | Compare those features against the new evidence |
| A concept sheet contains multiple angles | Check that every view depicts the same design | Resolve conflicting features before generation |
| Only AI-generated extra views are available | Treat them as proposed design references | Approve the invented details explicitly |
Meshy's Multi-View help guide documents a primary image plus up to three additional references. At the September 13, 2026 source check, it lists Meshy 7 and a paid subscription as requirements and says Multi-View cannot be enabled together with Smart Topology. It also instructs users to split a reference sheet into separate single-angle images.
For a reference set, use consistent framing and subject size, with padding around each view. Keep the design, background, and style consistent, as that guide recommends. Do not upload several almost identical crops and assume they document the back.
The editorial distinction is evidence: a photograph of the object's rear records an observed surface; an AI-generated rear view proposes one. Both can inform a creative brief, but only the former can independently show what that physical object's rear actually looks like.
Generate a baseline you can compare
The current Meshy generation walkthrough describes uploading an image in the Model workspace, selecting generation options, and clicking Generate. It accepts PNG, JPG/JPEG, and WebP files up to 20 MB. The walkthrough describes a white base mesh first, with Texture as a subsequent step.
That geometry-first sequence is useful for this review method. Save the exact input and note the model version and options you chose. Give each attempt a short identifier and record the single change you are evaluating. Keep a baseline even if you prefer a later result.
A simple record is enough: reference used, settings changed, strongest match, largest mismatch, and next action. Avoid changing the crop, reference angle, enhancement setting, and model version all at once; otherwise your comparison cannot isolate which change helped.
Evaluate the model in five passes
The following is an editorial acceptance checklist, not a benchmark or a guarantee of accuracy. Use it to write specific review notes instead of a general verdict such as “looks wrong.”
| Pass | What to inspect | Example review note |
|---|---|---|
| 1. Recognizable outline | Compare the model at roughly the reference angle | The handle arch is too low relative to the body |
| 2. Relative proportions | Compare relationships between the defining features | The spout looks too long compared with the body width |
| 3. Openings and attachments | Inspect handle gaps, mouths, and connecting points | The handle opening is closed near the upper attachment |
| 4. Unseen surfaces | Rotate to the back, sides, top, and underside | The rear has an extra ridge with no reference support |
| 5. Intended presentation | View the candidate at its planned distance and angles | The silhouette works in the scene, but the close-up fails |
For the watering can, begin with the three features in the brief. If the body, handle, and spout read correctly, inspect the negative space under the arch. Next, turn the model away from the reference angle and examine the connections. Finally, decide whether any uncertain rear detail matters for the intended presentation.
Use “matches visible reference,” “acceptable interpretation,” and “needs correction” as separate verdicts. This prevents a plausible invention from quietly becoming a claim of fidelity. If there is no photograph of the underside, record it as unverified rather than marking it accurate.
Meshy's feature page identifies Wireframe and Statistics as inspection tools in its viewer. Use them when you need to inspect the mesh structure; the official viewer feature description explains their availability. For acceptance, prioritize the features in your brief over a large polygon count.
Choose the next attempt from the review note
Make the next action answer the largest unresolved question:
- The reference itself is ambiguous: choose a clearer original or capture a new angle before spending time on surface appearance.
- An edit changed a defining feature: return to the untouched original and redo only the necessary preparation.
- The back is important but undocumented: obtain evidence or explicitly approve an imagined design.
- The main form is acceptable but a local feature fails: decide whether another generation or a targeted manual correction is the more useful next step.
- The candidate meets the brief: stop regenerating and check the exported file.
For a meaningful comparison, write the expected improvement before running again. “The next reference exposes the full handle opening” is a testable change. “Try again for something better” is not.
Check the exported asset before accepting it
Choose a format supported by the destination application. Meshy's official export-format table describes GLB with embedded textures, OBJ with material and texture files, and STL as geometry-only. A geometry-only file is therefore unsuitable for checking whether the colored appearance transferred.
Open the export in the application where you intend to use it and repeat your critical checks. Confirm the orientation, expected size, visibility of all parts, and appearance if textures were included. Keep the accepted reference, generation notes, and exported candidate together.
The final decision should be specific: this asset matches the visible reference sufficiently for its intended use, these hidden details are accepted interpretations, and these remaining corrections are still required. That is a stronger handoff than approving a model solely because its opening preview resembles the photograph.


