AI Tools
AI Video by RSP Editing Find the Right Tutorial, Prompt and Video Tool
Find the right RSP Editing tutorial, distinguish image prompts from video prompts, and identify the tools needed to finish your reel.
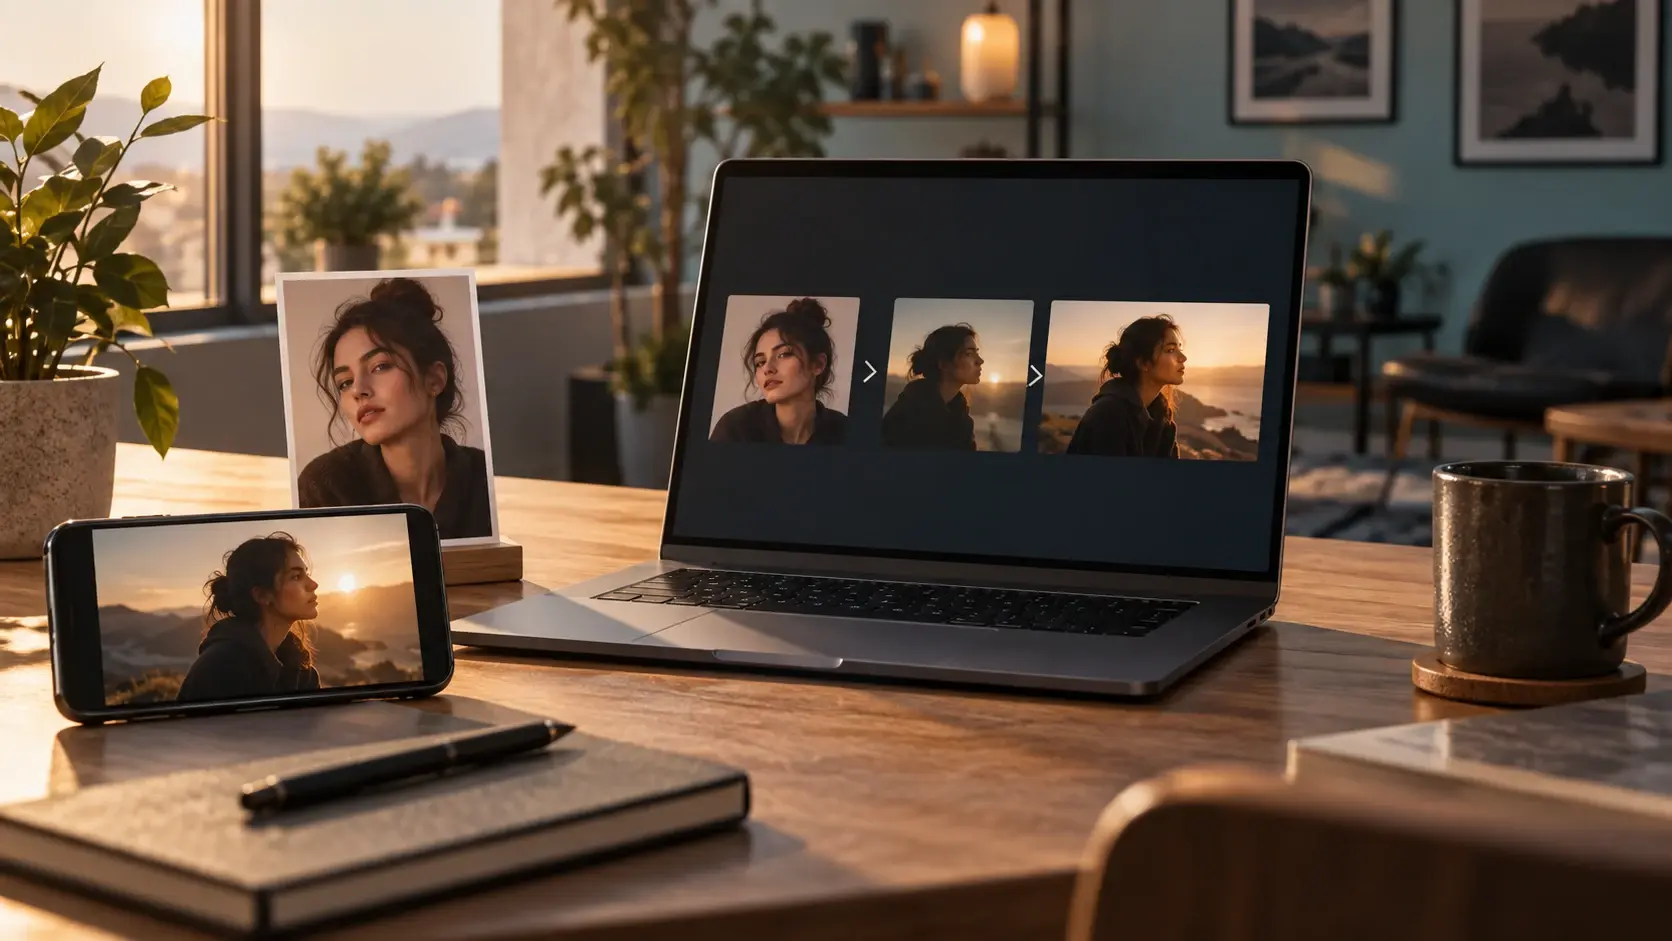
Searching for AI video by RSP Editing? Start by finding the specific tutorial behind the effect you want. The RSP Editing website publishes photo and video editing resources, including AI video prompts and VN template posts. Those resources can describe different routes to a finished reel, so the first task is to identify which route your chosen example uses.
This guide explains how to locate the right resource, separate a photo prompt from a video prompt, and identify the tool needed at each stage. It is an independent guide to reading the tutorials, not an RSP Editing product announcement.
What does “AI video by RSP Editing” refer to?
For the resources reviewed here, it is useful to treat the phrase as a search for RSP Editing's tutorials and prompts. A tutorial page provides instructions; the named creation or editing application performs the relevant production step. Do not assume the phrase itself identifies a standalone video generator.
For example, RSP Editing's 80s bike video tutorial describes preparing an image, using Flow for video creation, and joining the resulting clips in an editor. That is a sequence of tasks involving separate tools. It is not evidence that entering the search phrase into any AI app will reproduce the example.
Choose the resource that matches your intended result
Before copying anything, describe the effect you want in one sentence. “I want a person to move inside a scene” and “I want photos to appear after a countdown” are different briefs. Use that distinction to choose the tutorial.
| Your intended result | Resource to look for | What to identify before starting |
|---|---|---|
| A newly styled still portrait | A photo editing or image creation prompt | The reference photo and named image tool |
| A moving scene based on a prepared image | An AI video tutorial with a motion prompt | The starting image, video tool and scene sequence |
| A countdown followed by photographs | A matching template or manual editing tutorial | The editor, template asset and required photographs |
| Several generated clips arranged into one reel | The finishing section of the tutorial | Clip order, cuts, audio and final framing |
As a concrete contrast, RSP Editing's countdown reel tutorial describes manual assembly and a VN template route using photographs. It should not be read as the same task as generating character movement inside a scene.
How to find the right RSP Editing tutorial
- Start with the subject or effect. Search the site for the distinctive part of the example, such as a bike scene or a countdown, rather than relying only on the broad AI video phrase.
- Read the title and opening explanation. Check whether the post describes a still image, generated motion, or a template edit. Compare that description with the result you actually want.
- Read through the whole process before opening an app. Note every input and tool mentioned. A page may include both a photo preparation step and a later video step.
- Keep the tutorial accessible. Save its exact address and note the relevant prompt headings. This makes it easier to return to the correct instructions instead of mixing resources from different posts.
Use a small preparation note: intended result, source photo, image prompt if needed, video prompt if needed, creation tool, and final editor. Leave a stage out when your selected tutorial does not require it.
Separate the prompt, generator and editor
The photo prompt prepares the appearance
Use the photo stage to decide what the starting picture should contain. Review the subject, clothing, background and framing before moving forward. If the picture already misses your brief, revise that stage first instead of expecting the later edit to resolve it.
When your tutorial calls for a retro portrait, the guide to consistent retro portraits in Gemini is a related preparation resource. It is an alternative reference for that task, not a claim that every RSP Editing tutorial uses Gemini.
The video prompt describes the moving shot
Check that you have copied the section intended for video creation rather than the earlier image description. Read it against your prepared picture: does it refer to the subject and scene you are actually using? Identify the requested action and the point where the shot should end.
For independent motion ideas, browse AI image-to-video motion prompts. Use these as separate examples, not as quoted RSP Editing prompts. If you want a modest portrait animation rather than a multi-scene reel, the gentle portrait blink and smile prompt provides a focused starting point.
The editor assembles the finished reel
Plan the finishing pass around the assets you have actually produced. Decide which clips belong together, where each cut should fall, whether a title is necessary, and what audio you intend to use. Keep these editing decisions separate from the instructions you give the video generator.
For a Flow-based tutorial, use the tool-specific Google Flow image-to-video prompt guide when you need help controlling a shot. The present guide stays focused on choosing and interpreting the RSP Editing resource.
A practical handoff checklist
Before leaving each stage, inspect its output. The following is a suggested review process, not a promise that any particular prompt or tool will produce an exact match.
- After choosing the tutorial: Can you explain whether it uses generated motion, a template, or both?
- After preparing the image: Is this the subject, crop and setting you want to animate or place in the edit?
- After generating a clip: Watch it from beginning to end. Check the face, hands, objects, background and requested action.
- After assembling the reel: Review transitions, crop, audio timing and the final frame.
- Before sharing: Play the exported file itself and confirm that it is the version you intended to publish.
If the result does not match the tutorial
| What you notice | What to check next |
|---|---|
| You obtained a still image when you expected motion | Confirm that you are at the video stage and using the video prompt in the intended tool. |
| The scene does not match your source photo | Compare the copied prompt with the actual reference image; remove instructions describing a different subject or setting. |
| The reel shows timed photographs rather than character movement | Check whether you selected a template tutorial when your goal required generated motion. |
| The instructions mention controls you cannot find | Check the current tool interface and its official help before following an old sequence of button names. |
| Individual clips look acceptable but the reel feels unfinished | Review the assembly stage: clip order, cut points, framing and audio timing. |
Change one decision at a time and keep the versions you are comparing. For example, settle on the intended tutorial before rewriting its prompt, and settle on an acceptable source image before judging the final edit. This gives you a clearer record of what you changed.
Questions before you begin
Is AI video by RSP Editing a separate app?
The cited resources are tutorial pages that name other creation and editing tools. Read the selected page to identify the actual application for each step; the search phrase alone does not establish a separate app.
Can I complete the whole process for free?
Do not infer free generation or export from access to a tutorial. Before starting, check the current access conditions, usage allowance and export requirements inside each tool you plan to use. This guide does not promise unlimited use, watermark-free exports or a fixed credit allowance.
Should I copy every prompt on the page?
First identify what each prompt is for. Copy the relevant text into the corresponding stage and adapt subject-specific details to your own brief. Keep scene order clear when the tutorial includes more than one video prompt.
Where should I start?
Choose one example, read its complete tutorial, and write down the required inputs and tools. Complete that route once before combining it with other prompts or templates. Your first useful milestone is a finished edit you can inspect, not an exact recreation of every detail in a demonstration.


